Series Django (P3): Thao tác với post app qua Django rest framework

Chào mọi người, lâu lắm mới quay lại với series Django này. Ở phần trước mình đã thử bước đầu thao tác với Django rest-framework với ListAPIView. Ở phần này mình sẽ đi với các thao tác còn lại trong CRUD.
1. Retrieve View Detail
Mình sẽ thêm PostDetailAPIView trong posts/api/views.py. Trong PostDetailAPIView mình sẽ gọi RetrieveAPIView của GenericsView chỉ có read-only và lấy single model.
from rest_framework.generics import ListAPIView, RetrieveAPIView

...

class PostDetailAPIView(RetrieveAPIView):
    queryset = Post.objects.all()
    serializer_class = PostSerializer
import và sử dụng PostDetailAPIView vừa tạo trong url:
from .views import PostListAPIView, PostDetailAPIView

...

url(r'^(?P<pk>[\d]+)/$', PostDetailAPIView.as_view(), name='detail'),
url ở đây sẽ view detail theo id của bài post(pk - primary key).
Giờ chạy thử thôi! Mình sẽ sử dụng để view detail bài post với id là 2 với url: http://127.0.0.1:8000/api/posts/2/
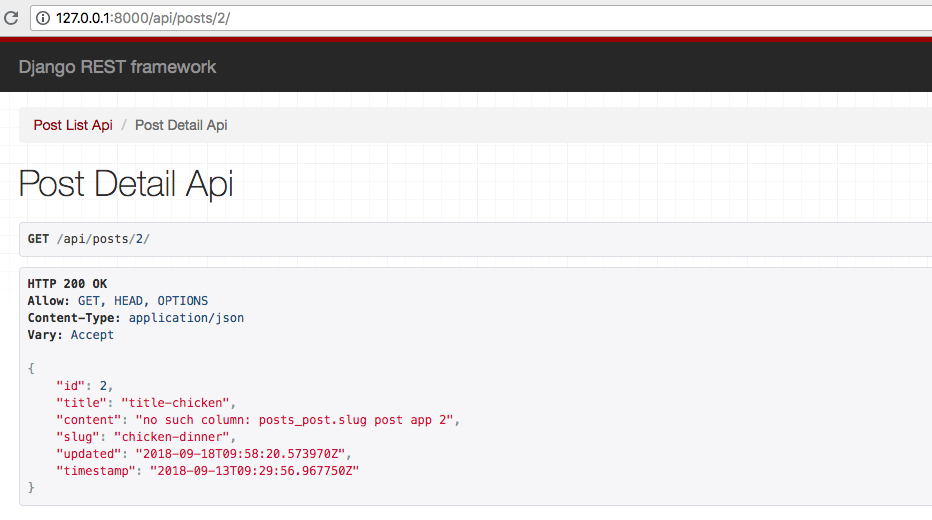
Rất đơn giản phải không ạ? Chỉ cần gọi RetrieveAPIView và đưa nó vào url thôi.
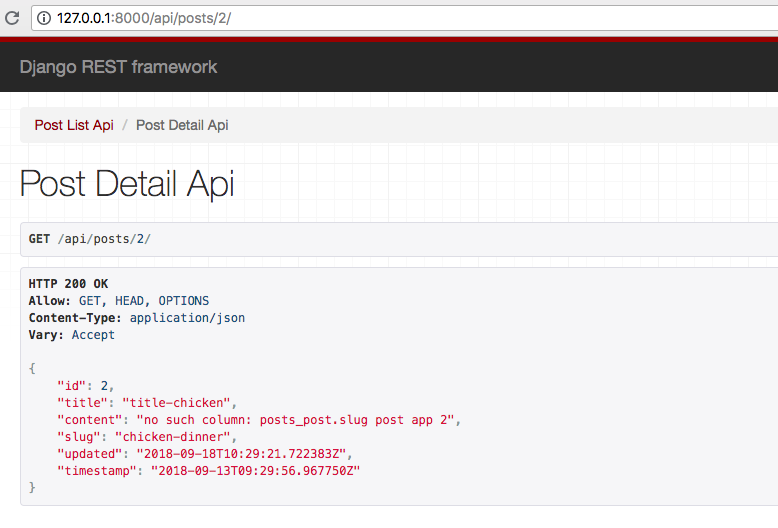
Ngoài việc sử dụng <pk> trong regular expression, các bạn cũng có thể sử dụng slug bằng cách thay url trên bằng:
...

# url(r'^(?P<pk>[\d]+)/$', PostDetailAPIView.as_view(), name='detail'),
url(r'^(?P<slug>[\w-]+)/$', PostDetailAPIView.as_view(), name='detail'),
và kết quả sẽ như thế này:
Mọi người có thể tham khảo thêm cách dùng slug tại đây.
2. Update và Destroy
Lại lặp lại các bước ở trên thôi.
Thứ nhất là gọi ra đúng APView mình cần. Mình sẽ sử dụng UpdateAPIView cho update(chỉ có update-only) và DestroyAPIView cho delete(chỉ có delete-only).
from rest_framework.generics import (
    ListAPIView, RetrieveAPIView, UpdateAPIView, DestroyAPIView
)

...

class PostUpdateAPIView(UpdateAPIView):
    queryset = Post.objects.all()
    serializer_class = PostSerializer

class PostDeleteAPIView(DestroyAPIView):
    queryset = Post.objects.all()
    serializer_class = PostSerializer
Sau đó là thêm vào url thôi:
from .views import (
    PostListAPIView, PostDetailAPIView, PostUpdateAPIView, PostDeleteAPIView
)

...

    url(r'^(?P<pk>[\d]+)/edit/$', PostUpdateAPIView.as_view(), name='update'),
    url(r'^(?P<pk>[\d]+)/delete/$', PostDeleteAPIView.as_view(), name='delete'),
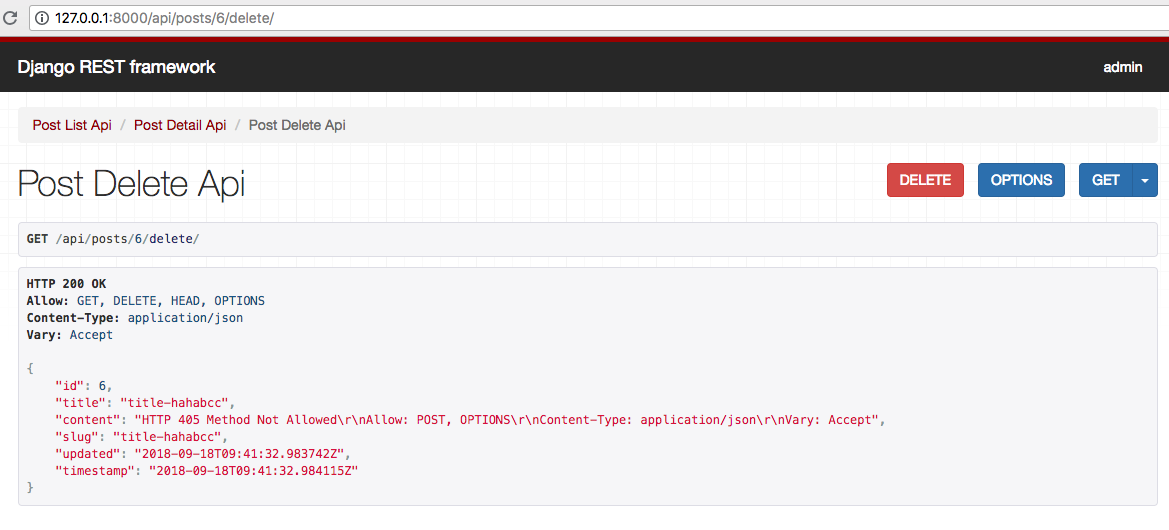
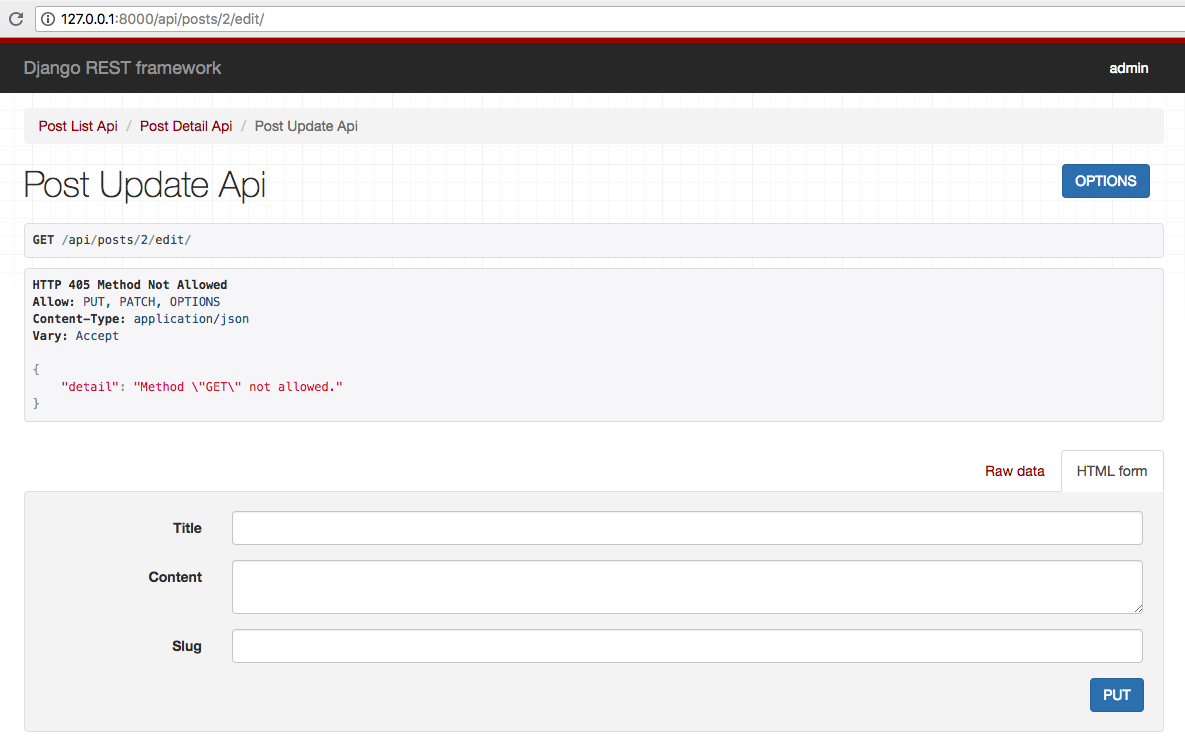
Chạy thử với http://127.0.0.1:8000/api/posts/2/edit/ và http://127.0.0.1:8000/api/posts/2/delete/
ta được kết quả:

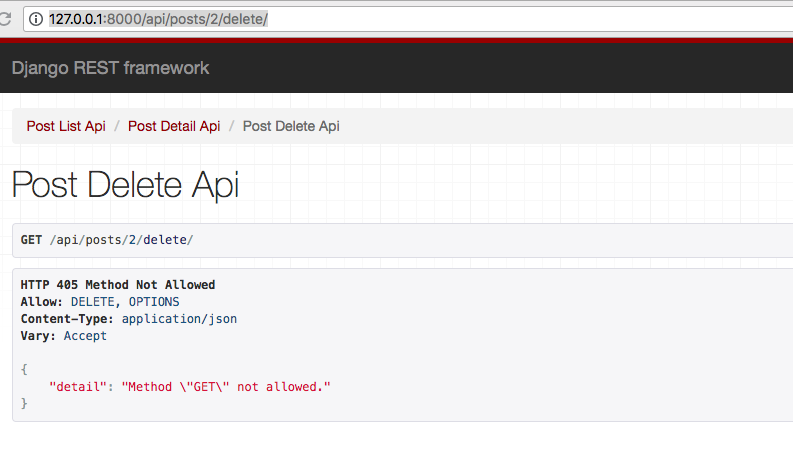
Trong 2 kết quả ở trên ta thấy có thông báo: "detail": Method \"GET\" not allwed vì PostUpdateAPIView, PostDeleteAPIView không có phương thức get trong request HTTP nhưng bạn vẫn có thể edit/delete được(Ở đây là không thể show ra được bài post với id số 2 mình đang thực hiện). Ngoài ra, các bạn có thể đổi UpdateAPIView, DestroyAPIView thành RetrieveUpdateAPIView(read or update), RetrieveDestroyAPIView(read or delete) để có thể get được bài post trước khi thực hiện update hoặc delete.
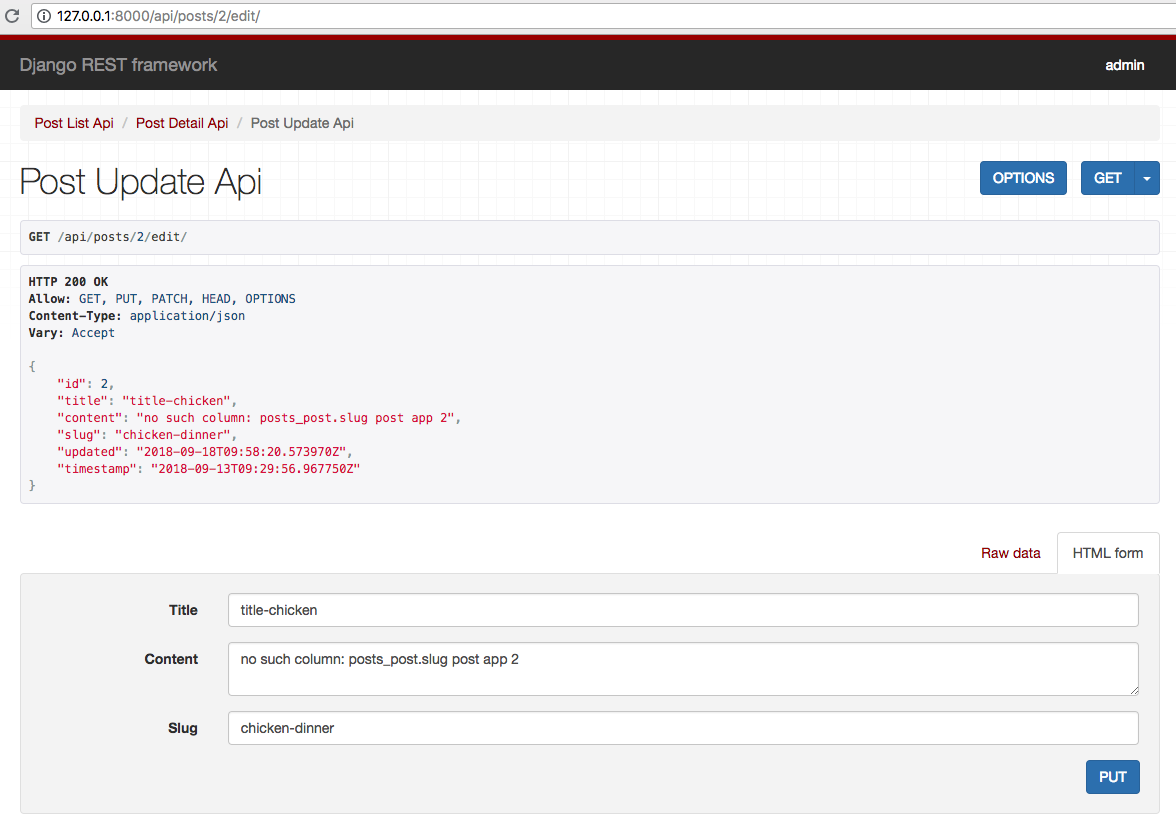
Với RetrieveUpdateAPIView:
Với RetrieveDestroyAPIView:
Sau đó thử edit bài post số 2
Và thử xóa bài bài post số 4
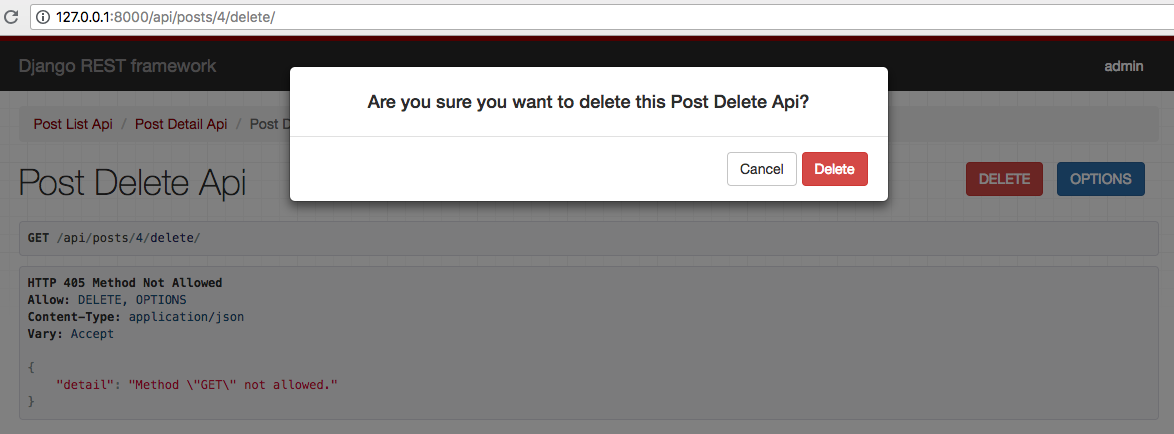
- Kết quả thực hiện
3. Create View
Ở đây mình sẽ tạo post create serializer và post create view để thực hiện thao tác tạo post.
Trước tiên thêm PostCreateSerializer trong posts/api/serializers.py
class PostCreateSerializer(ModelSerializer):
    class Meta:
        model = Post
        fields = [
            # 'id',
            'title',
            'content',
            'slug'
        ]
Sau khi đã tạo serializer xong, tiếp tục các bước quen thuộc, tạo ViewAPI thôi. Ở đây mình sẽ tạo PostCreateAPIView.
from rest_framework.generics import (
    CreateAPIView
)
from .serializers import PostCreateSerializer

...


class PostCreateAPIView(CreateAPIView):
    queryset = Post.objects.all()
    serializer_class = PostCreateSerializer
Cuối cùng là chỉ cần import PostCreateAPIView vào api/urls.py là xong
from .views import (
    PostCreateAPIView
)

urlpatterns = [
...
    url(r'^create/$', PostCreateAPIView.as_view(), name='create'),

]
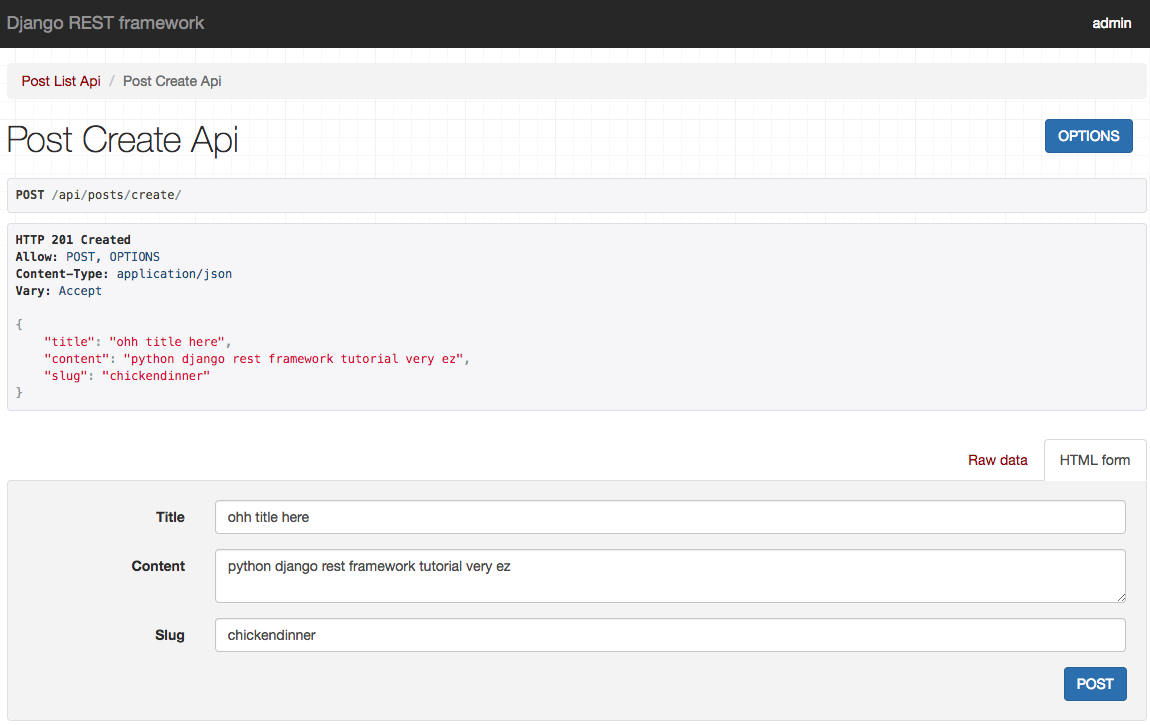
Đi đến http://127.0.0.1:8000/api/posts/create/ và thử tạo 1 post. Cần chú ý khi tạo post vì trường slug là unique.
Mở rộng ra 1 chút, với phần xử lý slug, bạn có thể xử lý tạo slug ở trong model. Trước khi save vào DB, bạn có thể xử lý title để tạo luôn slug để tránh tạo slug bằng tay. Chi tiết phần xử lý, các bạn có thể tham khảo tại đây.
Như vậy trong bài viết này, mình đã cùng các bạn thao tác CRUD trong Django Rest Framework. Trong phần tiếp theo mình sẽ tiếp tục đi đến phần xử lý với user. Cảm ơn các bạn đã theo dõi.
(Links tham khảo các bài trước của series)
Suýt quên mất, nhắn nhỏ các bạn:
Nếu có vẫn gặp vướng mắc trong khi thực hành hoặc có bất kì thắc mắc về Python, Django hay muốn tìm hiểu thêm các thông tin hữu ích, các bạn hãy tham gia group Django (Python) Vietnam để được các admin và thành viên support trực tiếp vấn đề mà bạn gặp phải nhé.