Fix bug without using brain with xdebug


- Cài đặt xdebug trên ubuntu:
- Sử dụng câu lệnh: sudo apt-get install php-xdebug để cài đặt xdebug tương ứng với bản php mới nhất.
- Còn nếu bạn sử dụng bản thấp hơn như 7.4 cáo thể sử dụng câu lệnh sau: sudo apt-get install php7.4-xdebug.
- Nếu các bạn dùng hệ điều hành khác có thể tham khảo ở link này.
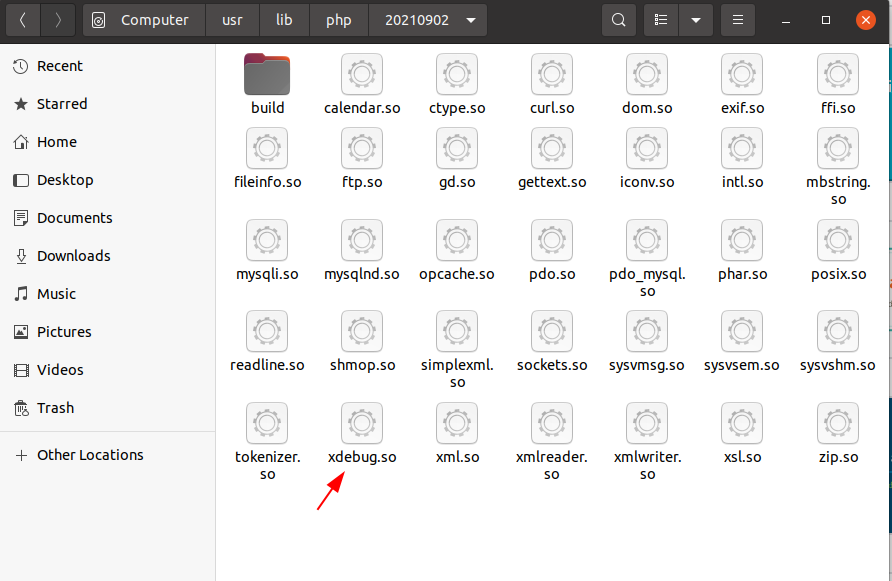
- Sau khi cài đặt thành công sẽ có file xdebug.so nằm ở thư mục /usr/lib/php/xxxxxxxx/ (xxxxxxxx: là thư mục chứa các bản cài đặt extension theo phiên bản php của bạn).
2. Cấu hình xdebug.ini:
- Vào file xdebug.ini sudo nano /etc/php/7.x/mods-available/xdebug.ini và chỉnh sửa thành như sau:
[xdebug]
zend_extension=/usr/lib/php/xxxxxxxx/xdebug.so
xdebug.mode=debug
xdebug.start_with_request = yes
- zend_extension: là nơi chứa file xdebug.so
- Và sau đó bạn khởi động lại các services:
sudo systemctl restart php7.0-fpm
sudo systemctl restart nginx # If you are using nginx server
sudo systemctl restart apache2 # If you are using apache server
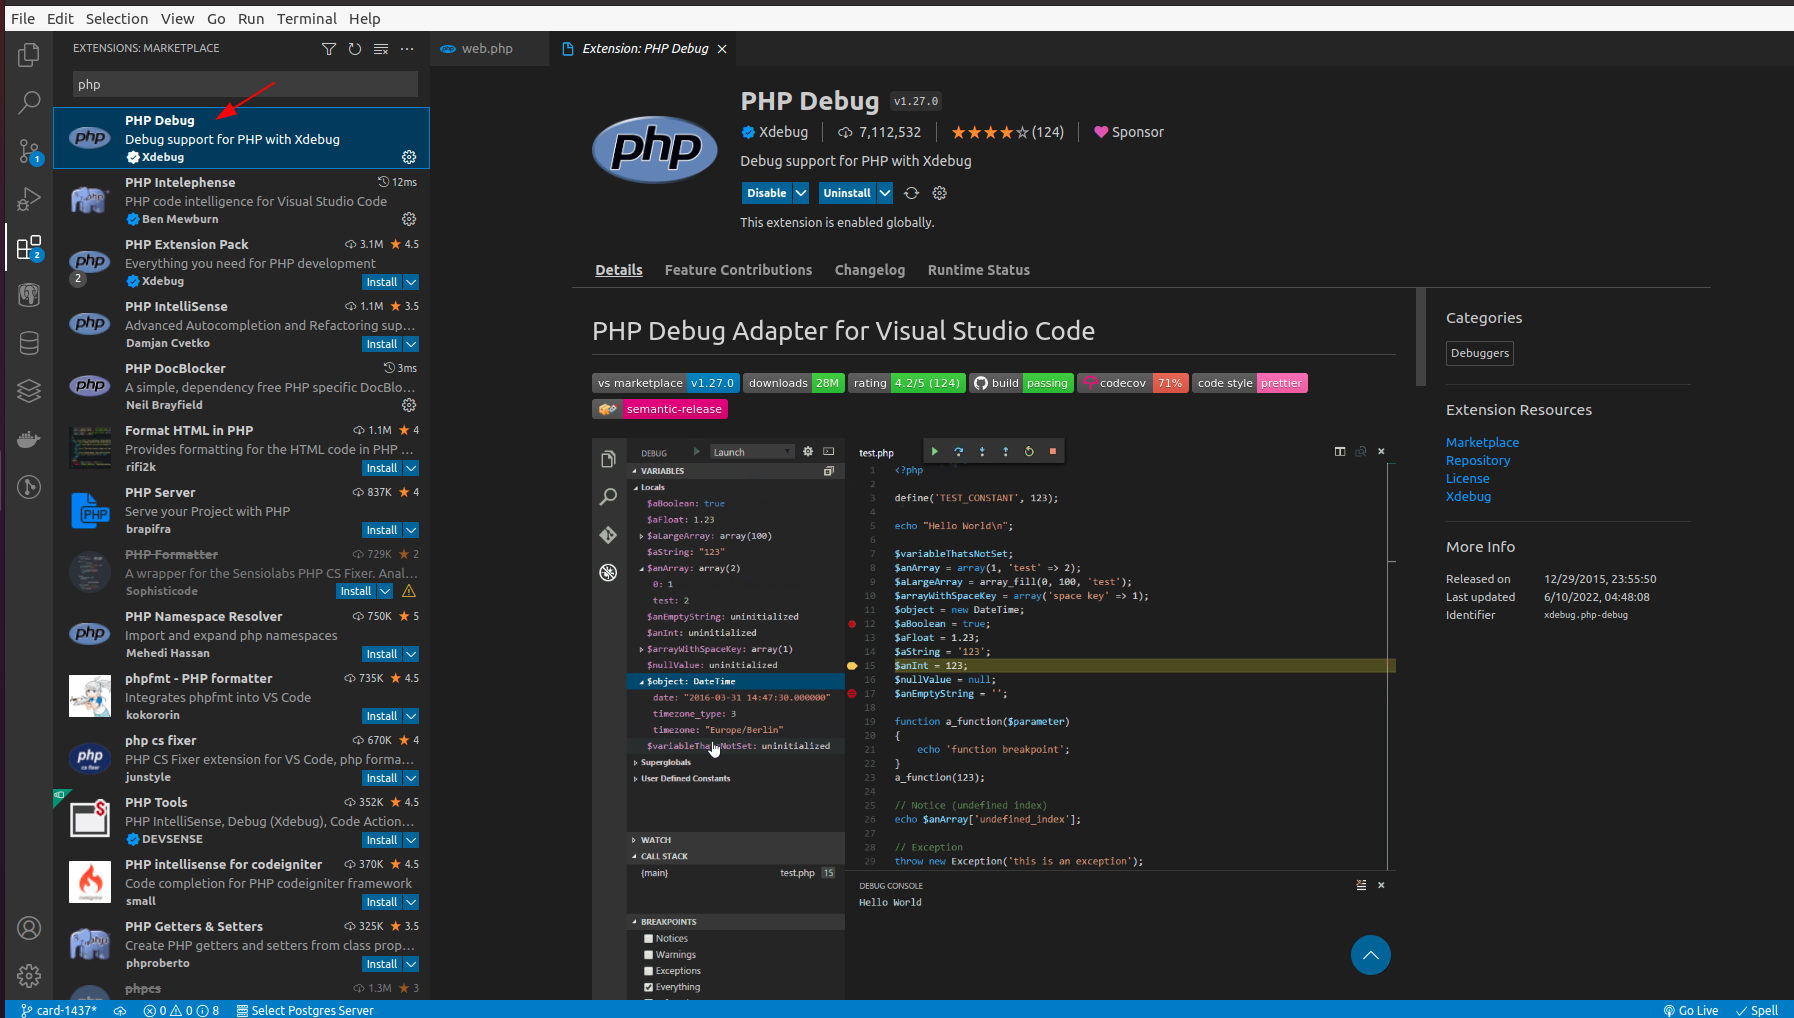
3. Cài extension php debug cho vscode:
- Install extension PHP Debug.
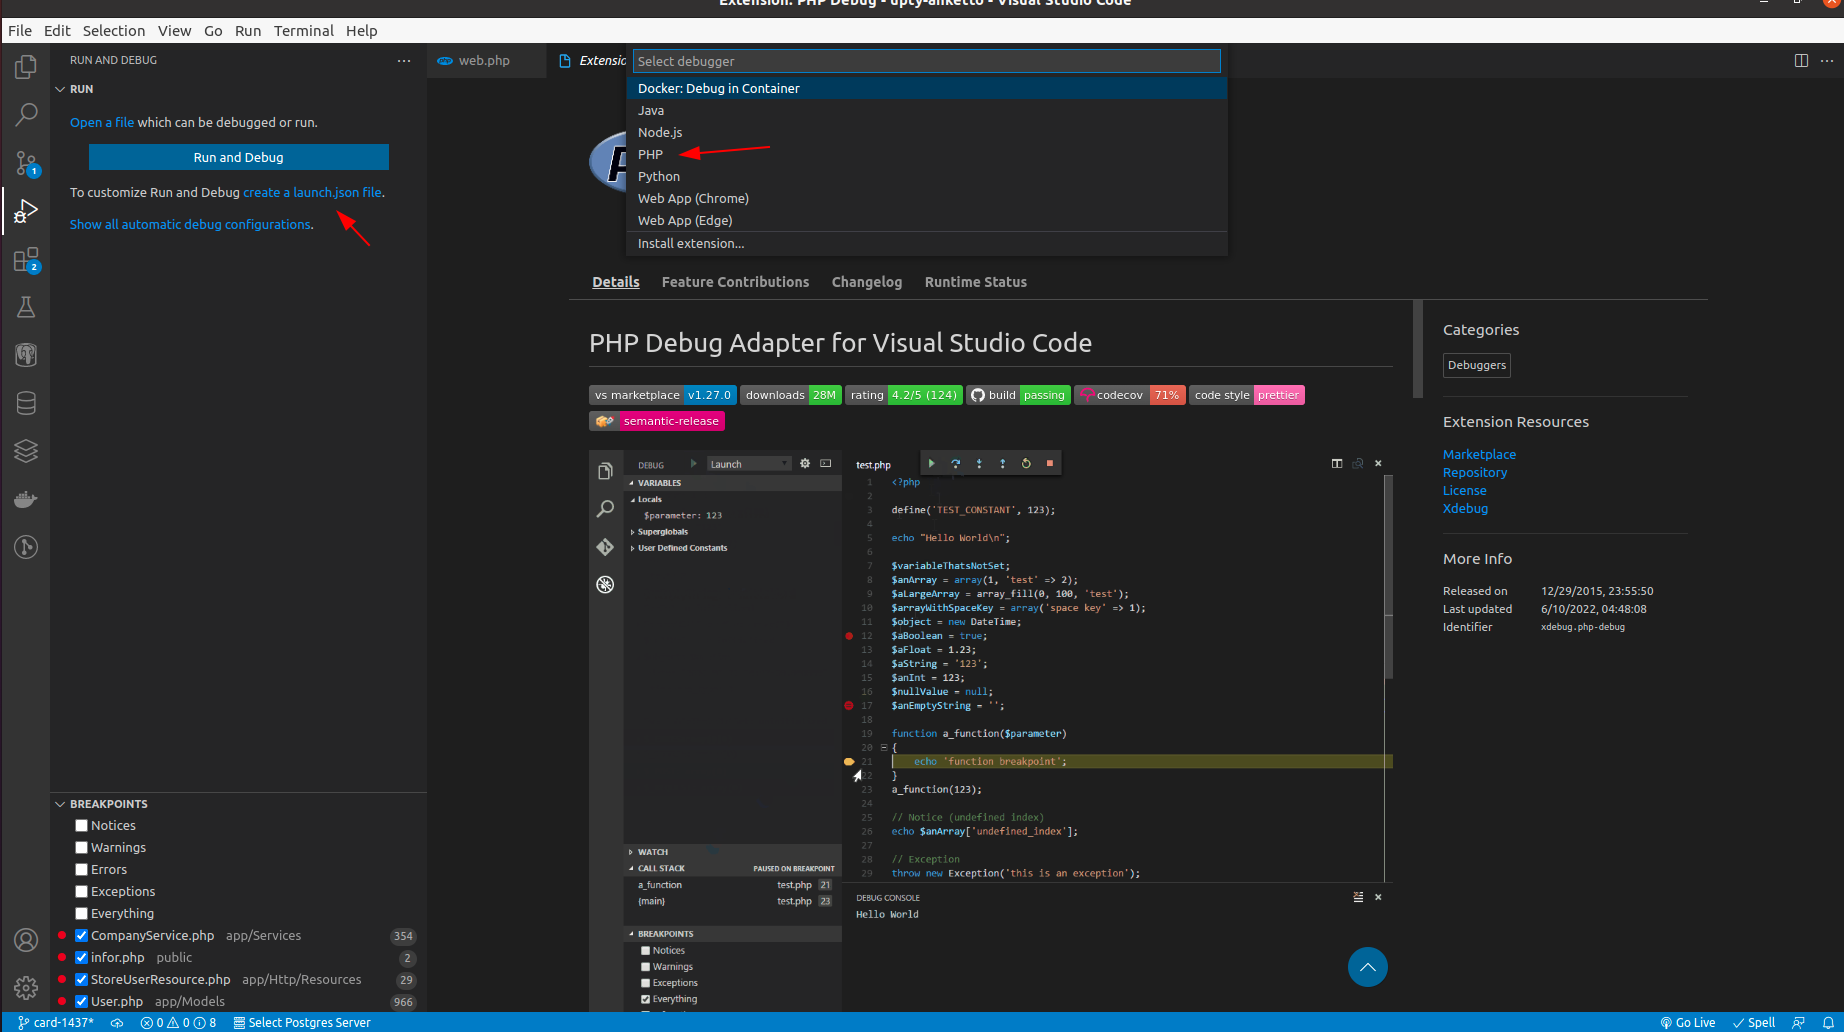
- Tạo file launch.json
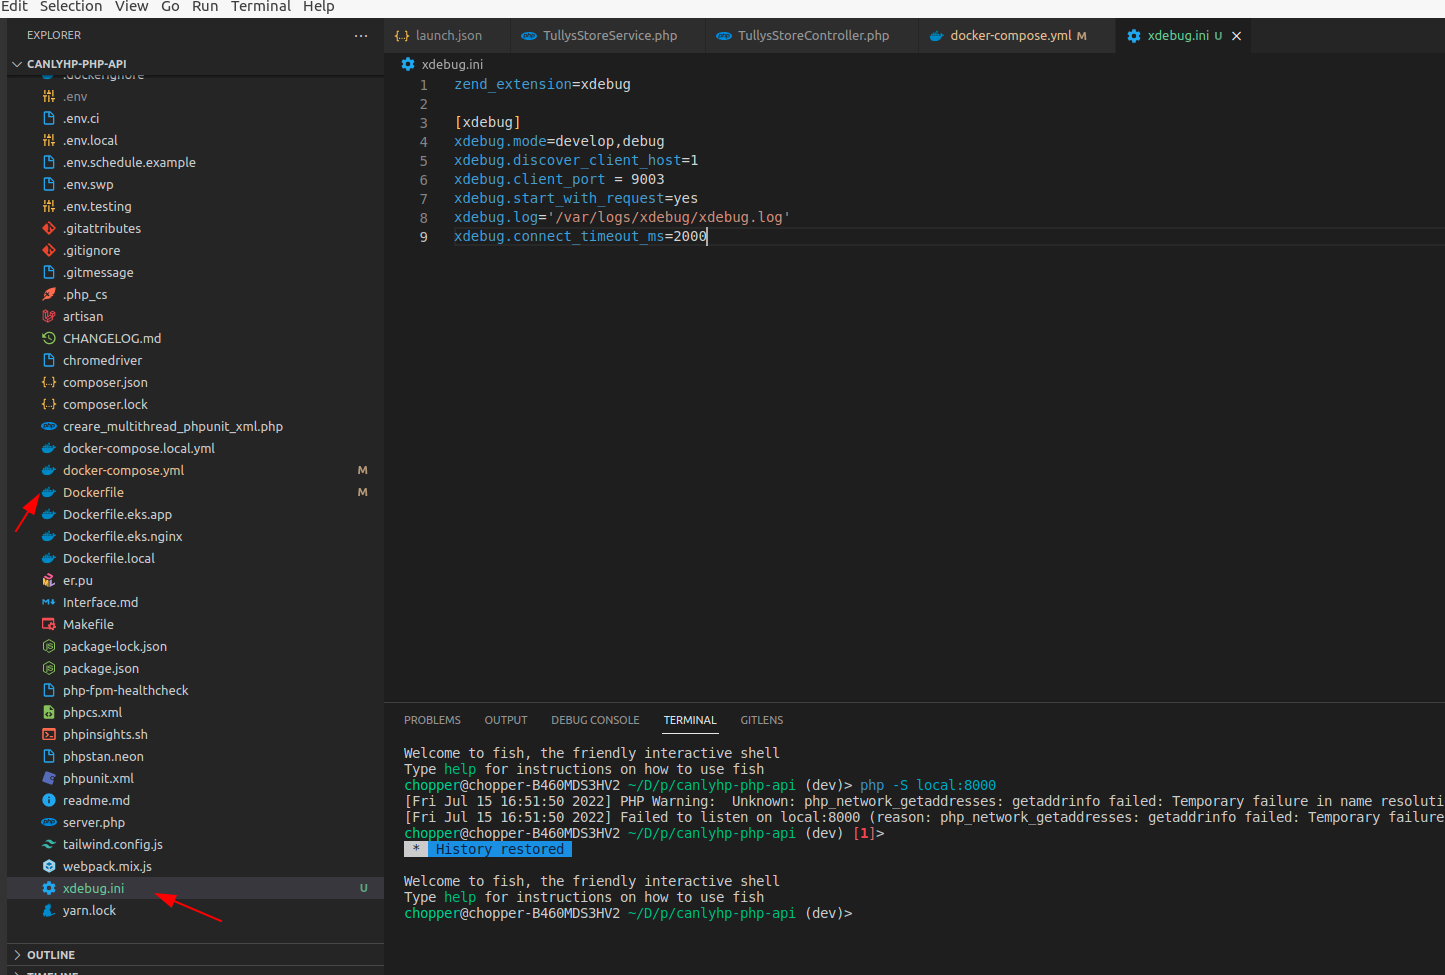
4. Cài đặt xdebug trên docker:
- Tạo file cấu hình xdebug.ini trong thư mục docker:
zend_extension=xdebug
[xdebug]
xdebug.mode=develop,debug
xdebug.discover_client_host=1
xdebug.client_port = 9003
xdebug.start_with_request=yes
xdebug.log='/var/logs/xdebug/xdebug.log'
xdebug.connect_timeout_ms=200
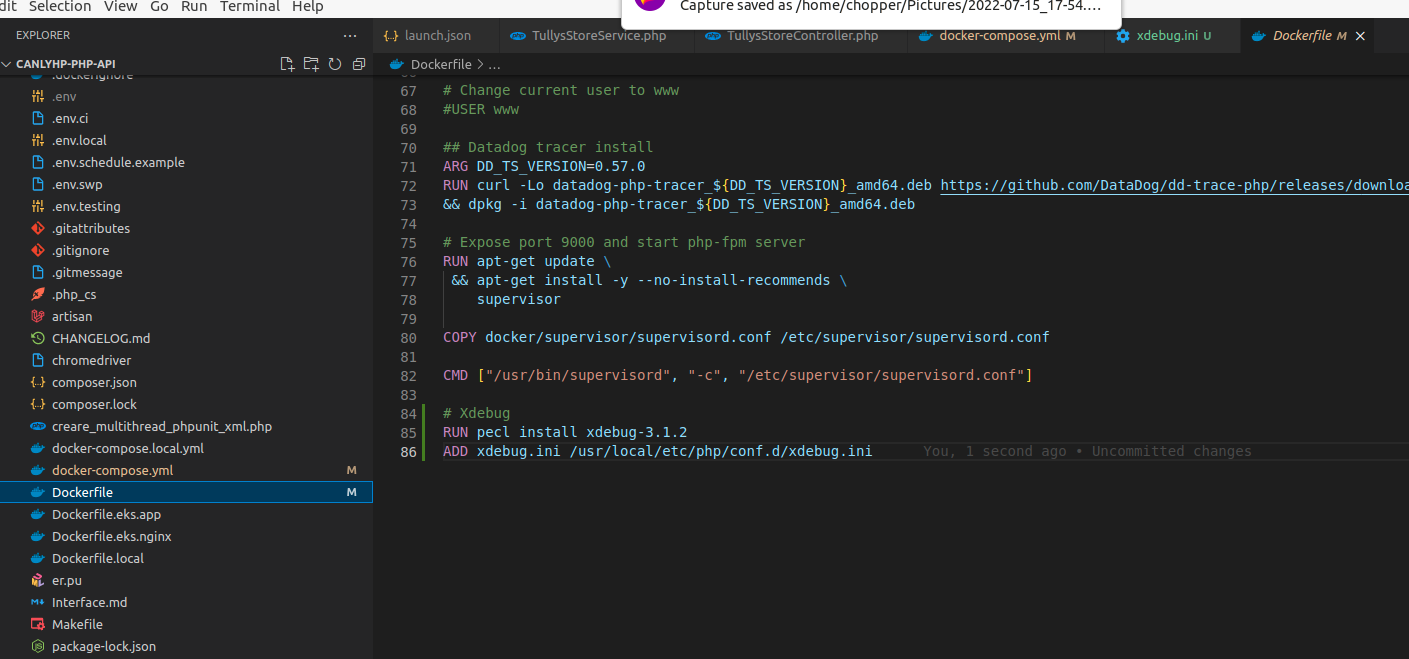
- Thêm 2 dòng vào file Dockerfile:
RUN pecl install xdebug-3.1.2
ADD xdebug.ini /usr/local/etc/php/conf.d/xdebug.ini
- Tạo file xdebug trong container docker chứa code, thêm 2 dòng sau vào volumes của app:
./xdebug:/var/logs/xdebug
./xdebug.ini:/usr/local/etc/php/conf.d/xdebug.ini
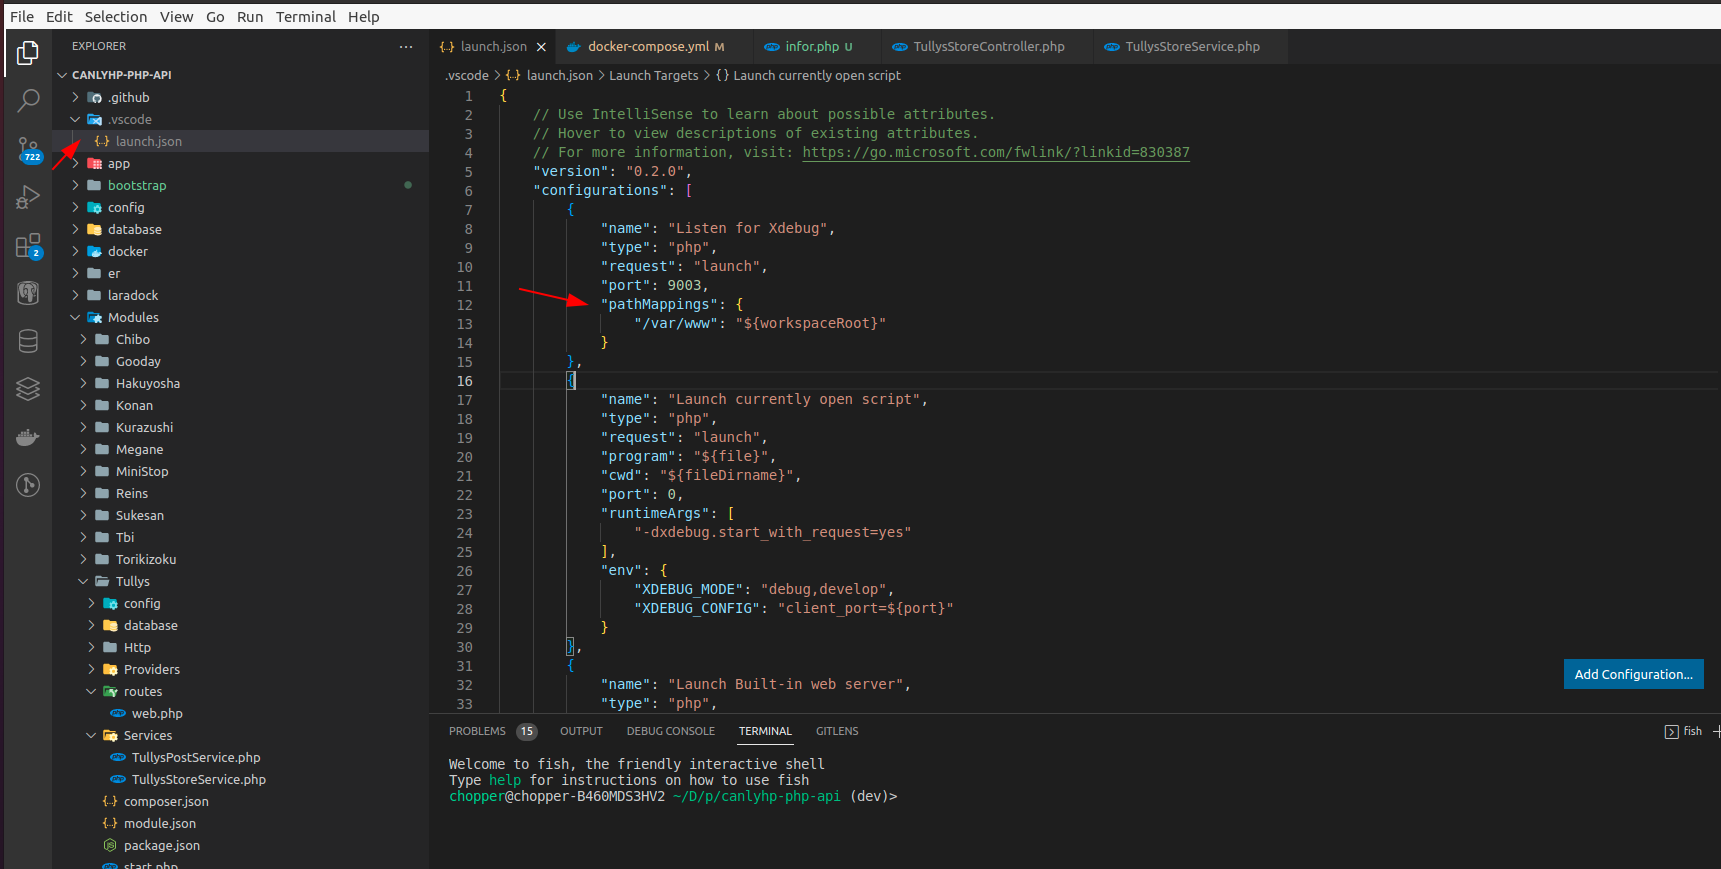
- Thêm dòng sau vào configurations của thư mục vscode:
"pathMappings": {
   "/var/www": "${workspaceRoot}"
}
+ /var/www: là thư mục trên server trong docker.
+ ${workspaceRoot}: thư mục mã nguồn
5. Cách sử dụng:
- Để khởi động xdebug trong vscode ta ấn F5.
- Click vào dòng code cần xem để tạo breakpoint.
- Sau đó ta gửi request đến breakpoint để sử dụng xdebug.
- Ấn F10 để đi qua từng dòng code.
- VARIABLES sẽ hiện ra các biến hiện có của funtion và ta có thể xem rõ các giá trị ở đó
- WATCH sẽ giúp chúng ta thực hiện các lệnh code bên ngoài funtion và xem các giá trị ta gán vào.
- Video ví dụ cách dùng:
https://drive.google.com/file/d/1xi2VXHK78TExlpIQyV_2yPmM0xfkIvMo/view?usp=sharing
Tài liệu tham khảo: